Making kimchi at home might sound intimidating—but it’s actually simple, fun, and incredibly rewarding. You don’t need a giant Korean kitchen or a special fridge. With a few basic ingredients and a large mixing bowl, you can ferment your own delicious batch right from your apartment.
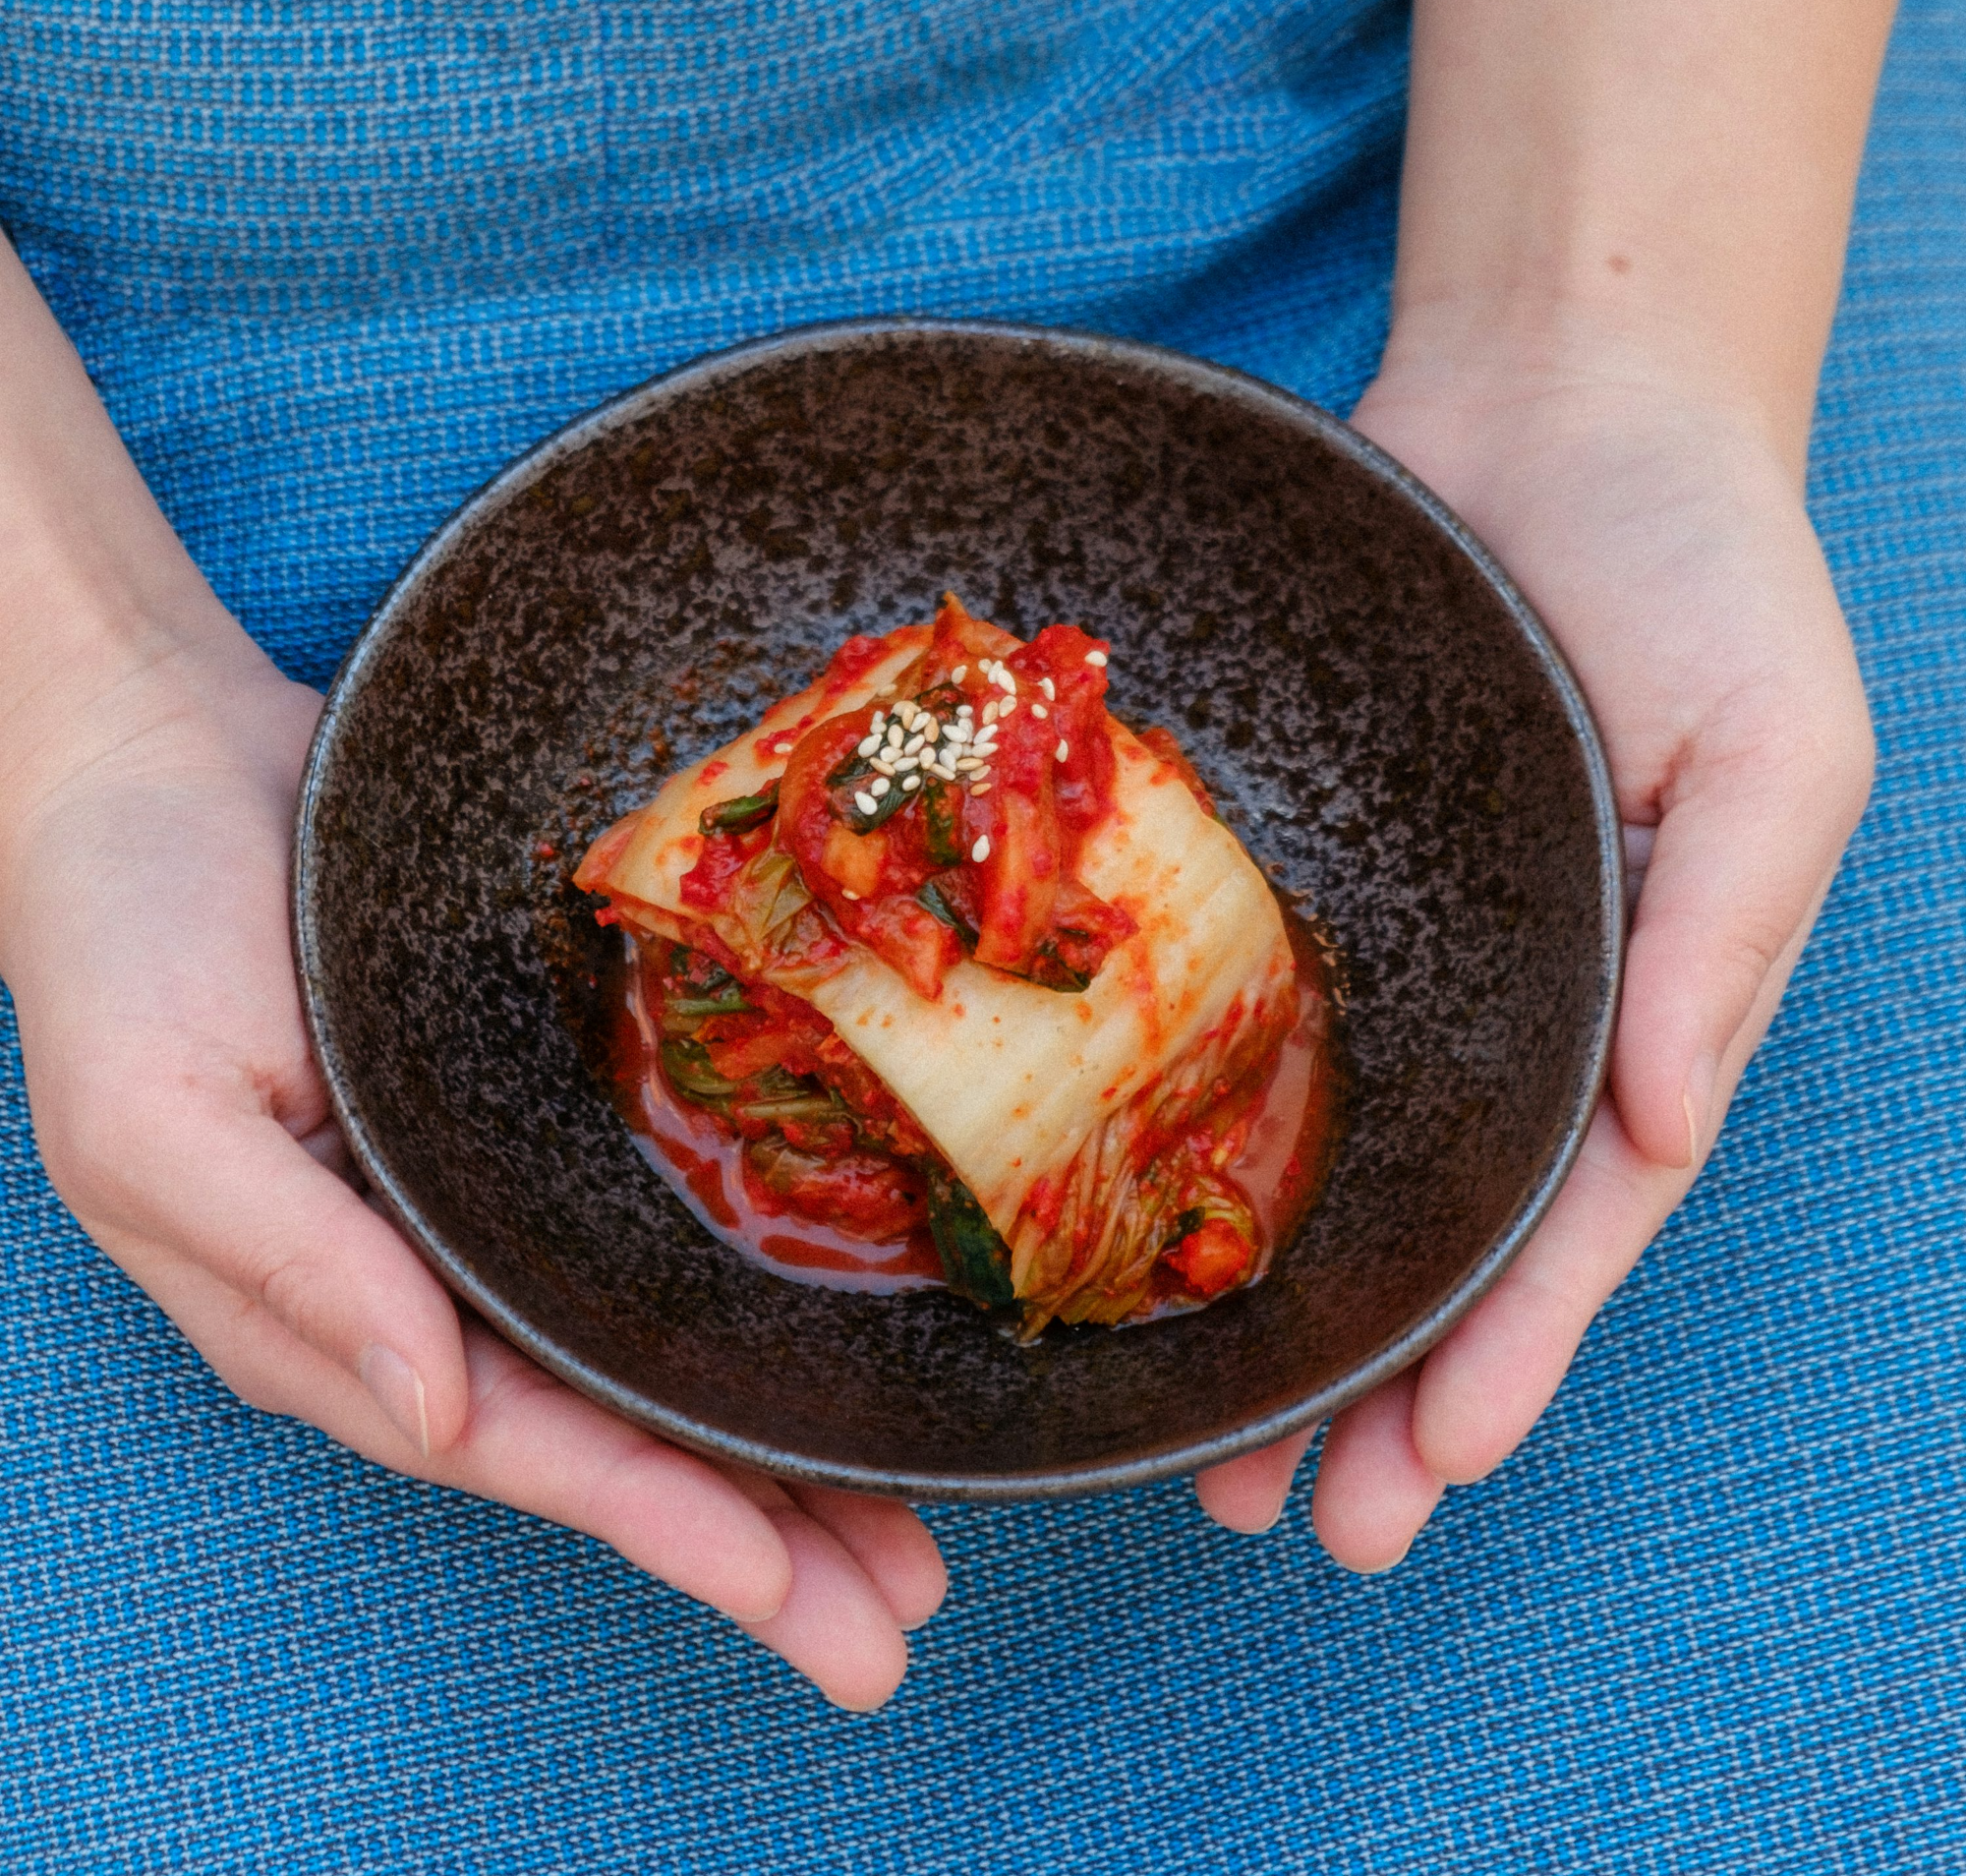
Here’s a beginner-friendly recipe for making baechu kimchi (napa cabbage kimchi)—the most popular type of kimchi enjoyed around the world.
Ingredients You’ll Need
- 1 medium napa cabbage (about 1.5–2 kg)
- 1/4 cup sea salt (non-iodized preferred)
- 4–5 cloves garlic (minced)
- 1 teaspoon grated ginger
- 3–4 tablespoons Korean red pepper flakes (gochugaru)
- 2 tablespoons fish sauce (or soy sauce for vegetarian)
- 1 teaspoon sugar
- 1 small carrot (julienned, optional)
- 2 stalks green onion (sliced)
- 1/2 Korean radish or daikon (optional, thinly sliced)


Step-by-Step Instructions
1. Salt the Cabbage
Cut the napa cabbage into quarters, then chop into bite-sized pieces. Rinse and drain. Sprinkle with sea salt and mix well. Let it sit for 1–2 hours, tossing every 30 minutes. The cabbage will wilt and release water.
2. Rinse and Drain
After salting, rinse the cabbage 2–3 times to remove excess salt. Drain well. You don’t want soggy kimchi!
3. Make the Kimchi Paste
In a separate bowl, combine garlic, ginger, gochugaru, fish sauce, sugar, and a few tablespoons of water. Mix into a thick paste. Add green onions, carrot, and radish slices if using.

4. Mix Everything
Wear kitchen gloves if you can (gochugaru stains!) and thoroughly coat the cabbage with the kimchi paste. Make sure every piece is evenly covered.
5. Pack and Ferment
Transfer the kimchi into a clean glass jar or airtight container. Press it down to remove air pockets. Leave a bit of space at the top for expansion. Let it sit at room temperature for 1–2 days (less if it’s warm), then move to the fridge.
Fermentation continues in the fridge. Taste after 3 days—it gets more sour with time!

No Kimchi Fridge? No Problem
A kimchi fridge helps control odor and temperature, but it’s not necessary. Store your jar in the back of the fridge where it’s coldest, and use airtight glass jars to contain the smell.
You can also double-bag your jar or store it in a plastic container with a lid inside your fridge to minimize the odor.
How Long Does Homemade Kimchi Last?
Homemade kimchi can last for several months when stored properly. As it ferments, the flavor gets stronger and tangier. Older kimchi is perfect for kimchi jjigae (stew), kimchi bokkeumbap (fried rice), and kimchi jeon (pancakes).
"You don’t need a kimchi fridge or a Korean grandma—just salt, time, and a little spice."
Coming Up Next…
In the next post, we’ll explore whether a kimchi fridge is really necessary—and how it became a unique part of modern Korean life.
Up next: Do You Need a Kimchi Fridge? Korean Food Storage Culture
'Korean Recipes' 카테고리의 다른 글
| How to Brew Makgeolli at Home – Easy 4-Step Guide with NUTEAT Kit (0) | 2025.06.30 |
|---|---|
| Korean Party Food Ideas That Always Impress (0) | 2025.06.26 |
| DIY Korean BBQ at Home: Tips and Recipes (0) | 2025.05.13 |
| Fusion Tteokbokki Recipes You Must Try: Creative Twists on a Classic (2) | 2025.05.09 |
| Tteokbokki Around the World: Global Variations (0) | 2025.05.09 |


